Download
Download OBS Studio 31.0.3 with easy-to-follow guides for installation on Windows, Mac, and Linux systems.
What’s New in the Current Version
OBS Studio 31.0.3 Hotfix Changes
The latest update to OBS Studio brings several important fixes to improve stability and reliability:
Crash Fixes
- Fixed a bug in version 31.0.2 that caused OBS to crash when recording information about browser source problems
- Resolved a crash issue on Mac computers when OBS used more than 8GB of memory
- Fixed a possible crash that happened when opening OBS in Studio Mode
Performance Improvements
- Fixed a potential freeze with browser sources when shutting down OBS
- Solved an issue where streams wouldn’t reconnect properly after disconnecting
- Fixed multiple problems with NVIDIA Background Blur effects
Video Display Fixes
- Fixed a bug where Video Capture Devices on Mac could accidentally flip upside down
- Corrected an issue where the Program View resolution wouldn’t update correctly when changed
If you’ve experienced any of these issues with version 31.0.2, updating to 31.0.3 should provide a more stable streaming and recording experience.
Download Old Versions of OBS Studio
System Requirements for Downloading OBS Studio
Discover the essential prerequisites, where performance nuances might stem from the intricacy of your arrangement and sought streaming caliber. Furthermore, an accelerated processor, expanded RAM, and a dedicated graphics card can notably elevate OBS Studio’s operational efficacy.
For Windows
- Operating System: Windows 8 or newer (64-bit)
- Processor: Intel Core i3 or equivalent AMD processor
- RAM: 4 GB or more
- Graphics Card: DirectX 10.1 compatible GPU
- Free Disk Space: 250 MB or more
For macOS
- Operating System: macOS 10.13 or newer
- Processor: Intel Core i3 or higher
- RAM: 4 GB or more
- Graphics Card: OpenGL 3.2 compatible GPU
- Free Disk Space: 250 MB or more
For Linux
- Operating System: Ubuntu 14.04 or newer, or other Linux distributions with compatible kernel and libraries
- Processor: Intel Core i3 or equivalent AMD processor
- RAM: 4 GB or more
- Graphics Card: OpenGL 3.2 compatible GPU
- Free Disk Space: 250 MB or more
Step-by-Step Guide to Download and Install OBS Studio for Windows/Mac/Linux
Ready to dive into the exciting world of live streaming and content creation?
Want to get started? Our simple step-by-step guide will help you to download OBS Studio onto your Windows in no time.
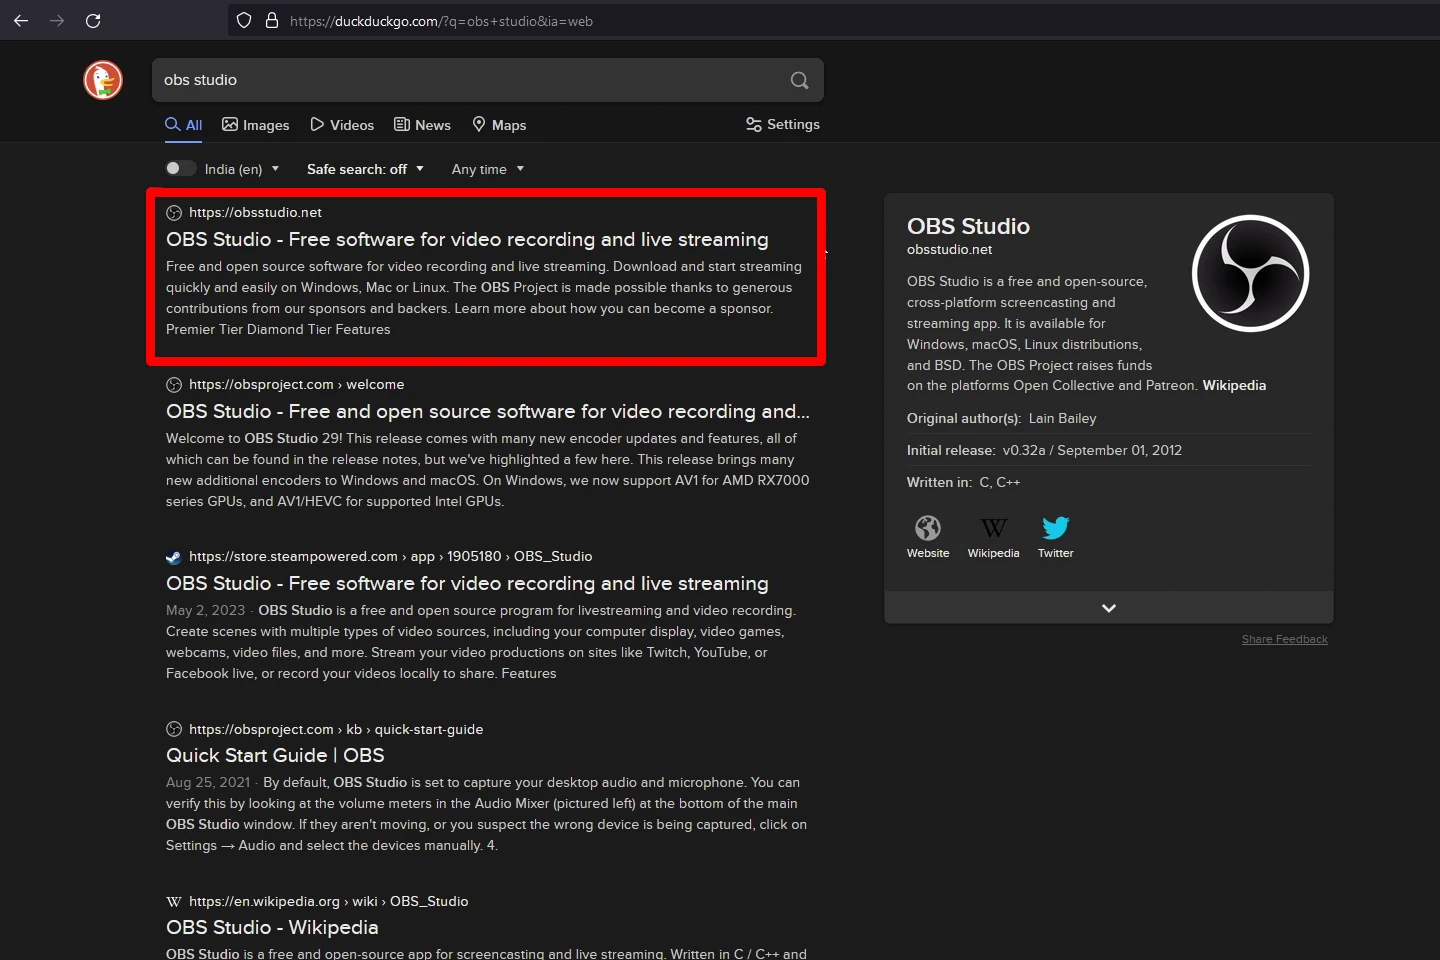
Step 1 – Visit the OBS Studio
Begin by visiting the website of Open Broadcaster Software. You can do this by opening your preferred web browser and searching for “OBS Studio“
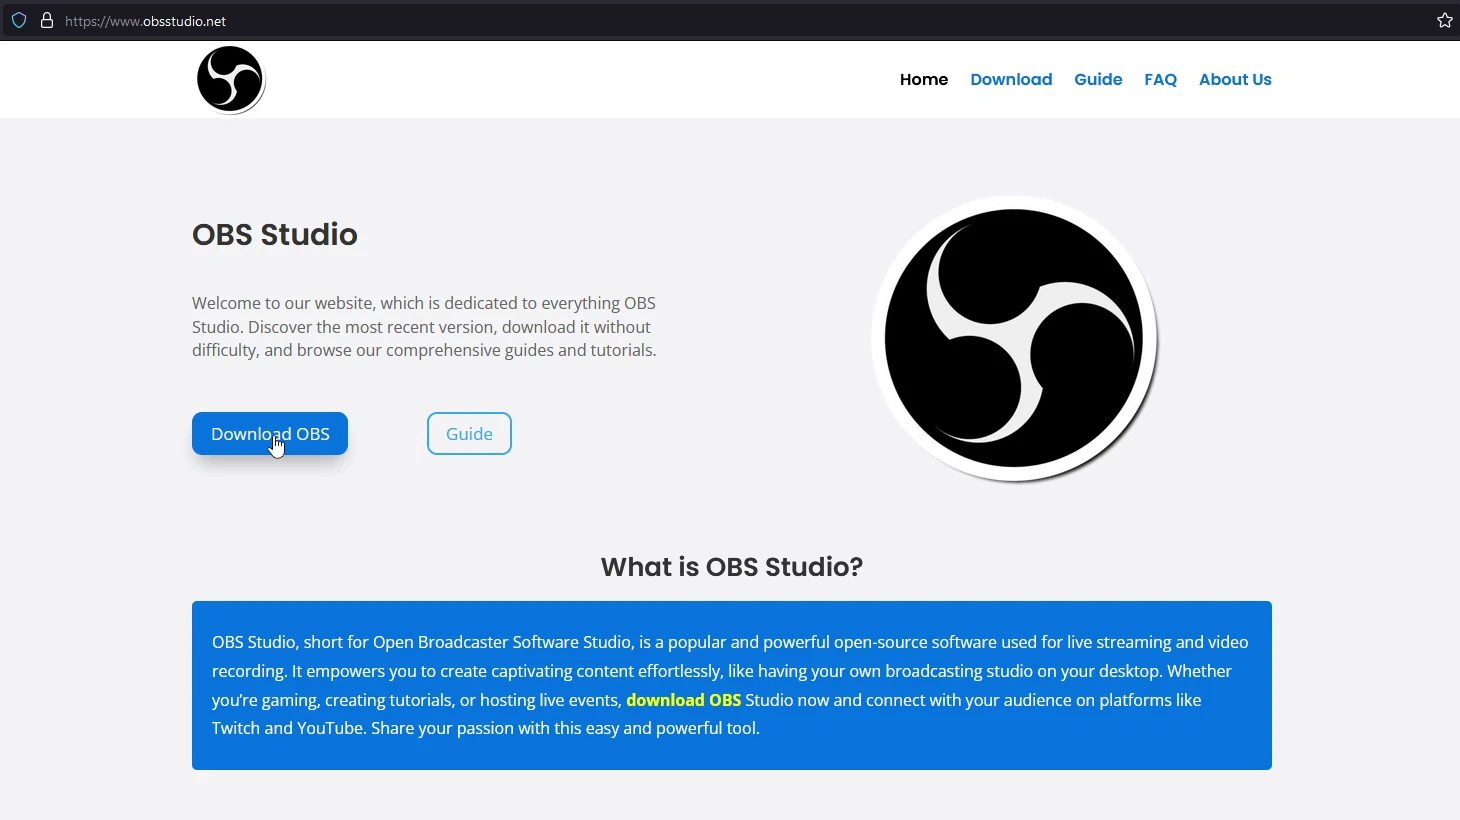
Step 2 – Navigate to the Download Page:
Once you’re on the website, navigate to the “Download OBS Studio” button or the “Download” page. This is where you’ll find the latest software version available for various operating systems.
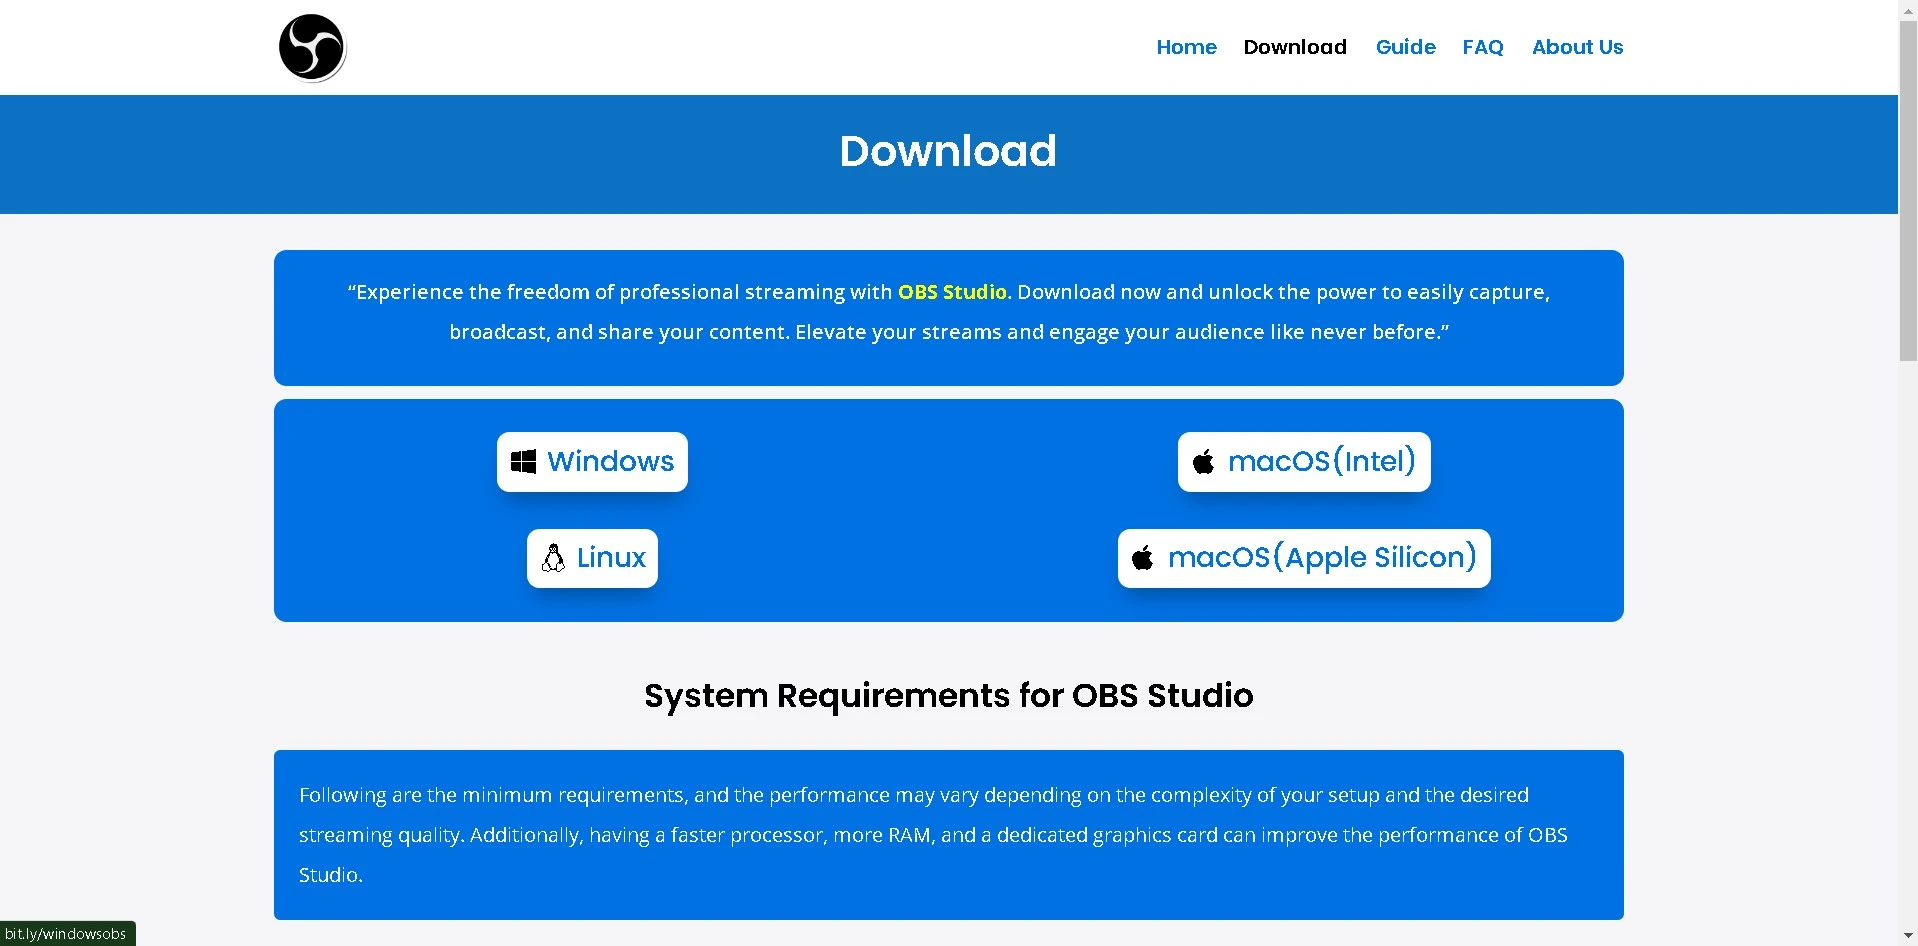
Step 3 – Choose Your Operating System:
OBS is available for Windows, macOS, and Linux. As we are getting it for Windows, Select Windows from the available options.
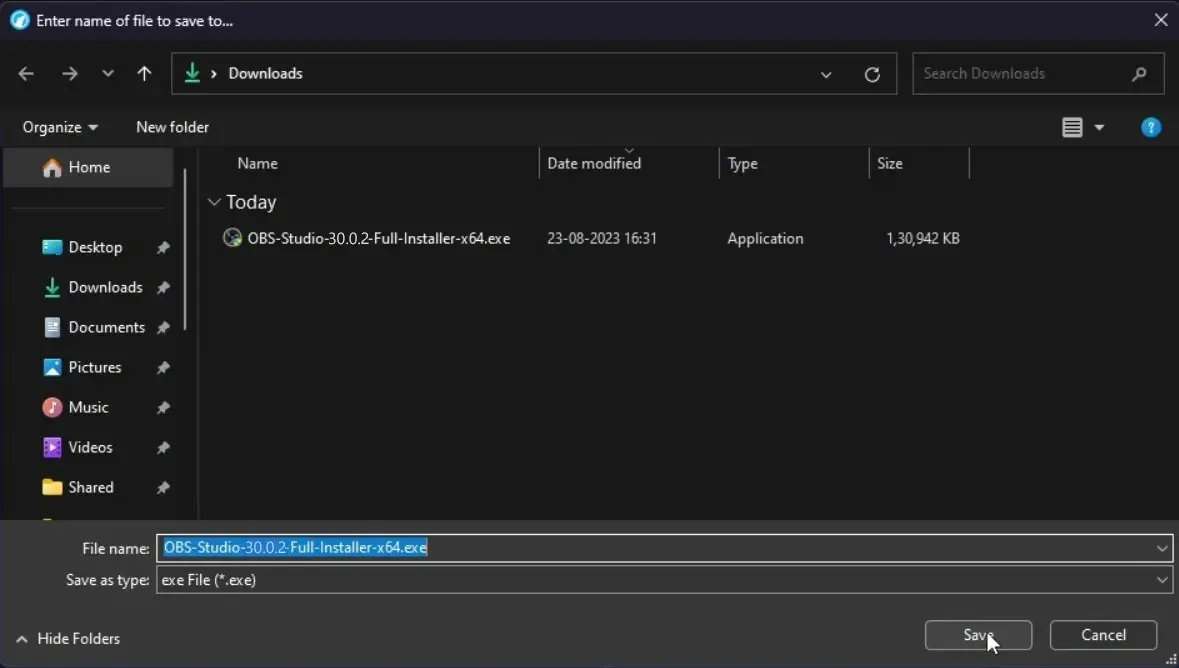
Step 4 – Start the Download:
Click on the download OBS Studio for Windows. The download will start automatically. If prompted, choose a location on your computer to save the installation file.
Step 5 – Install OBS Studio in Windows:
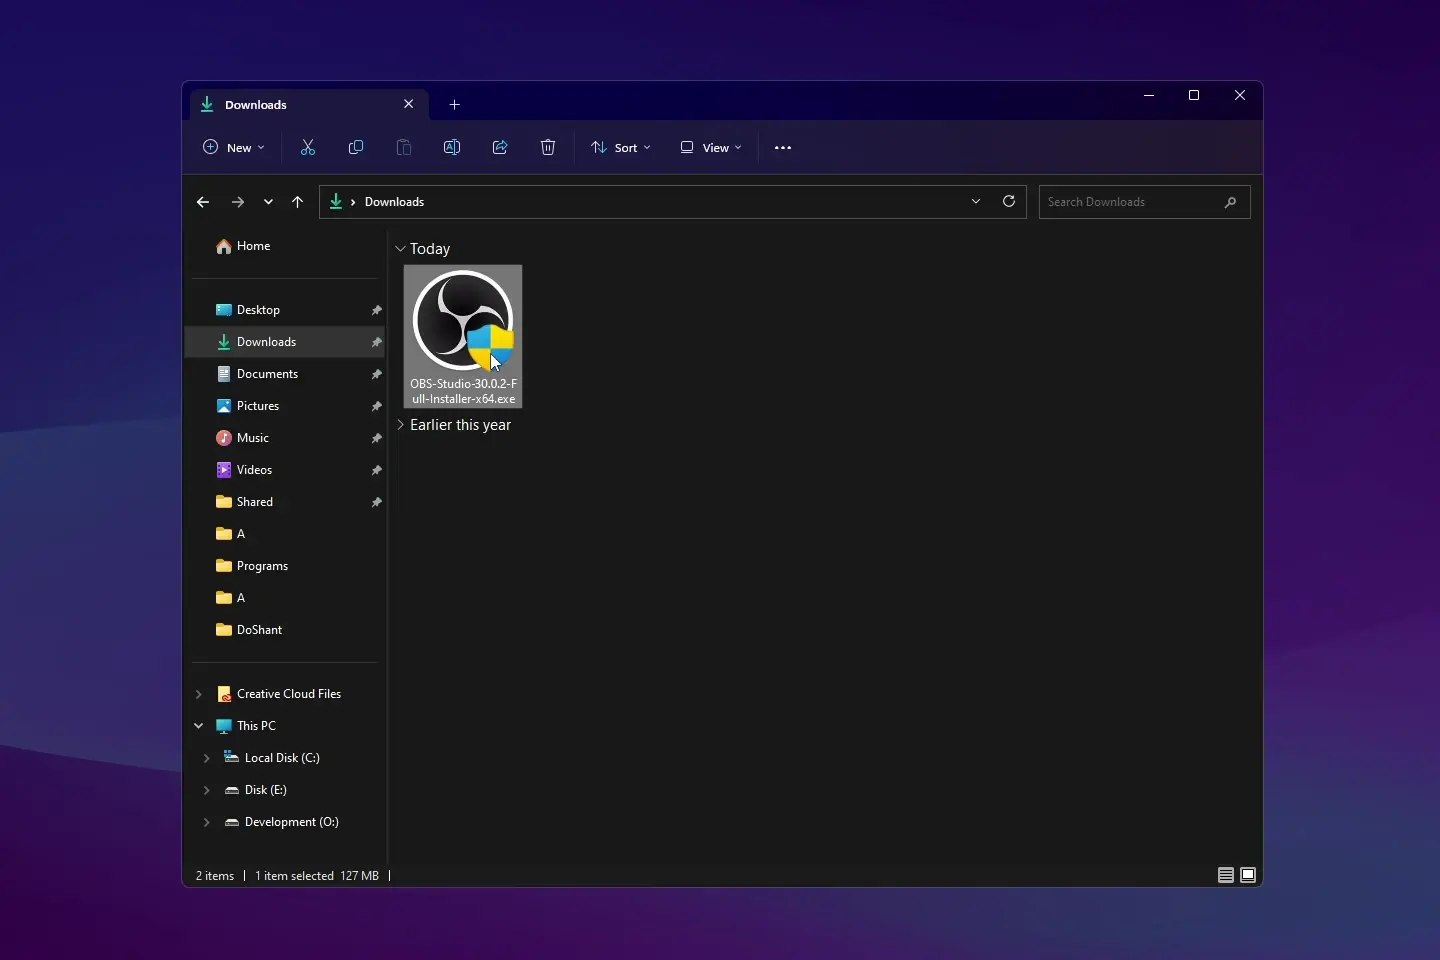
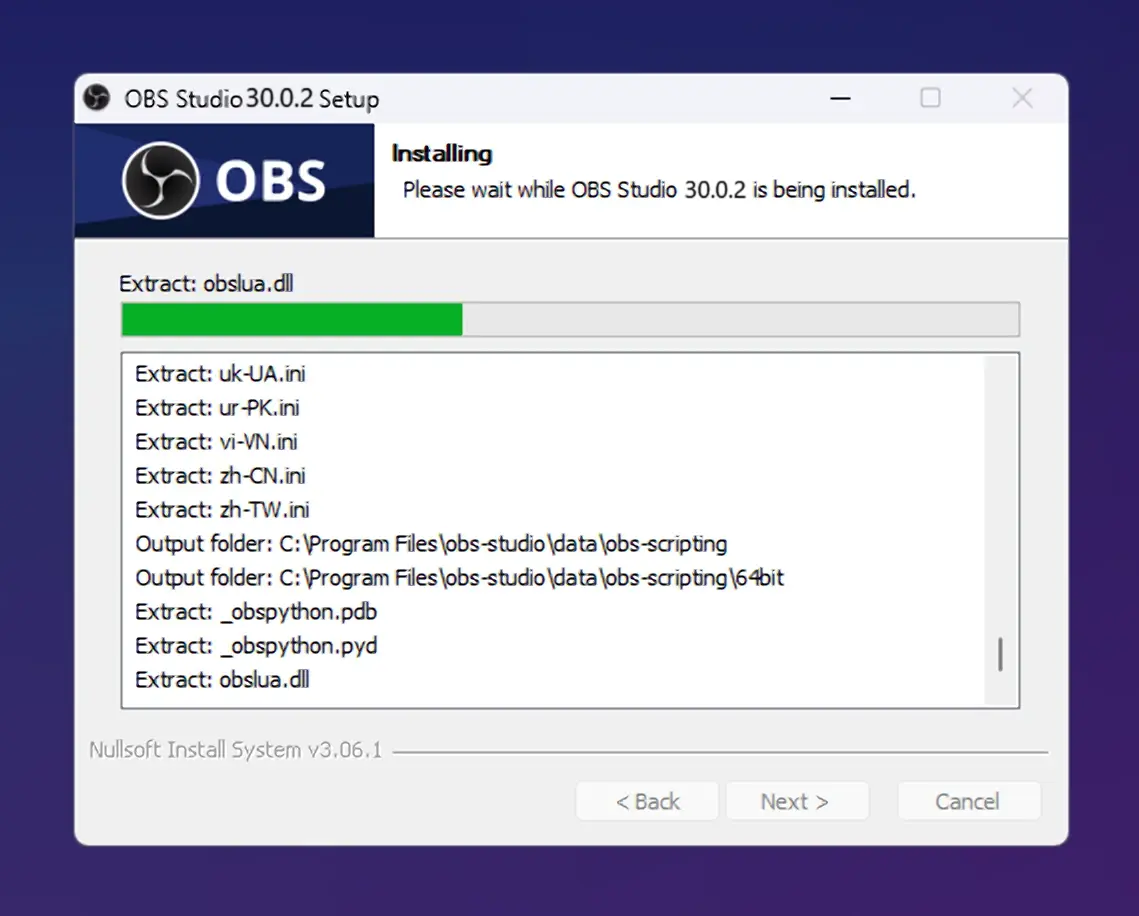
Once the download is complete, locate the installation file on your computer and double-click it to start the installation process.
Step 6 – Configure Installation Settings:
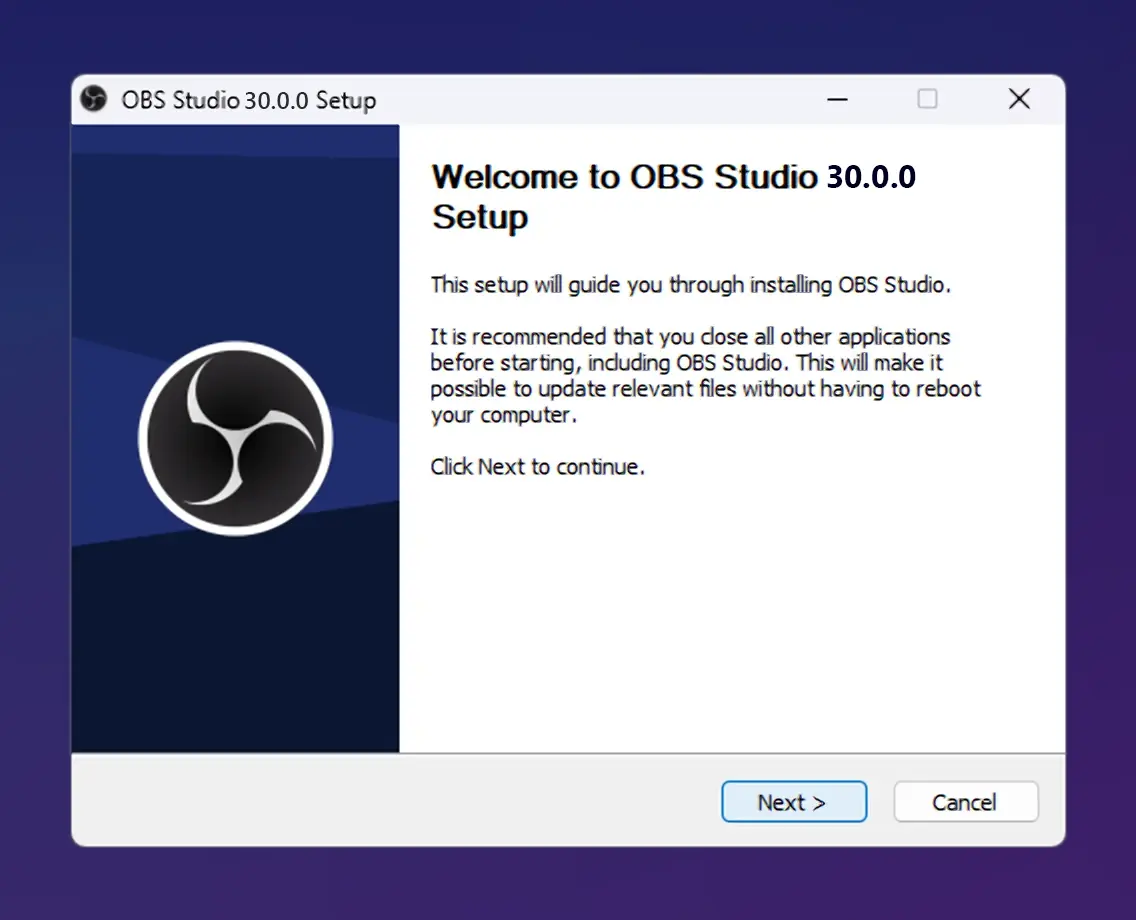
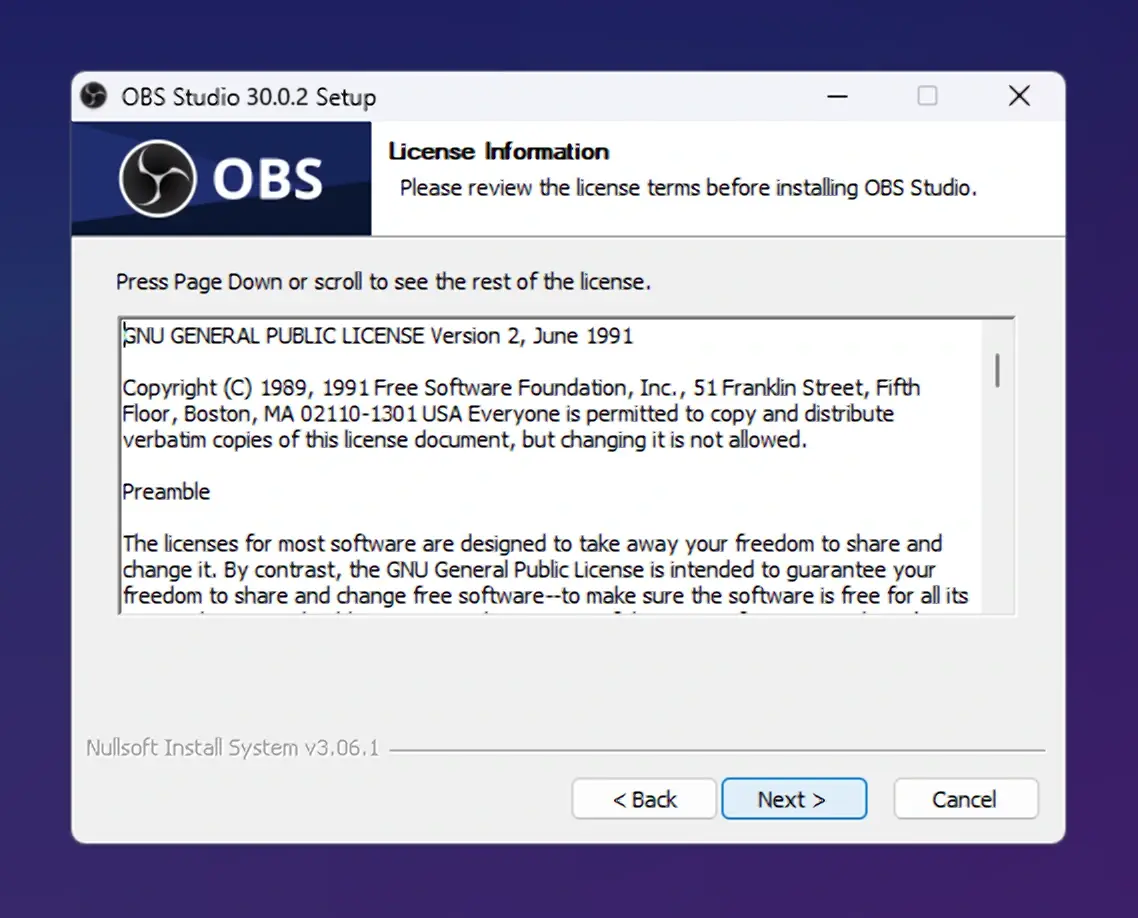
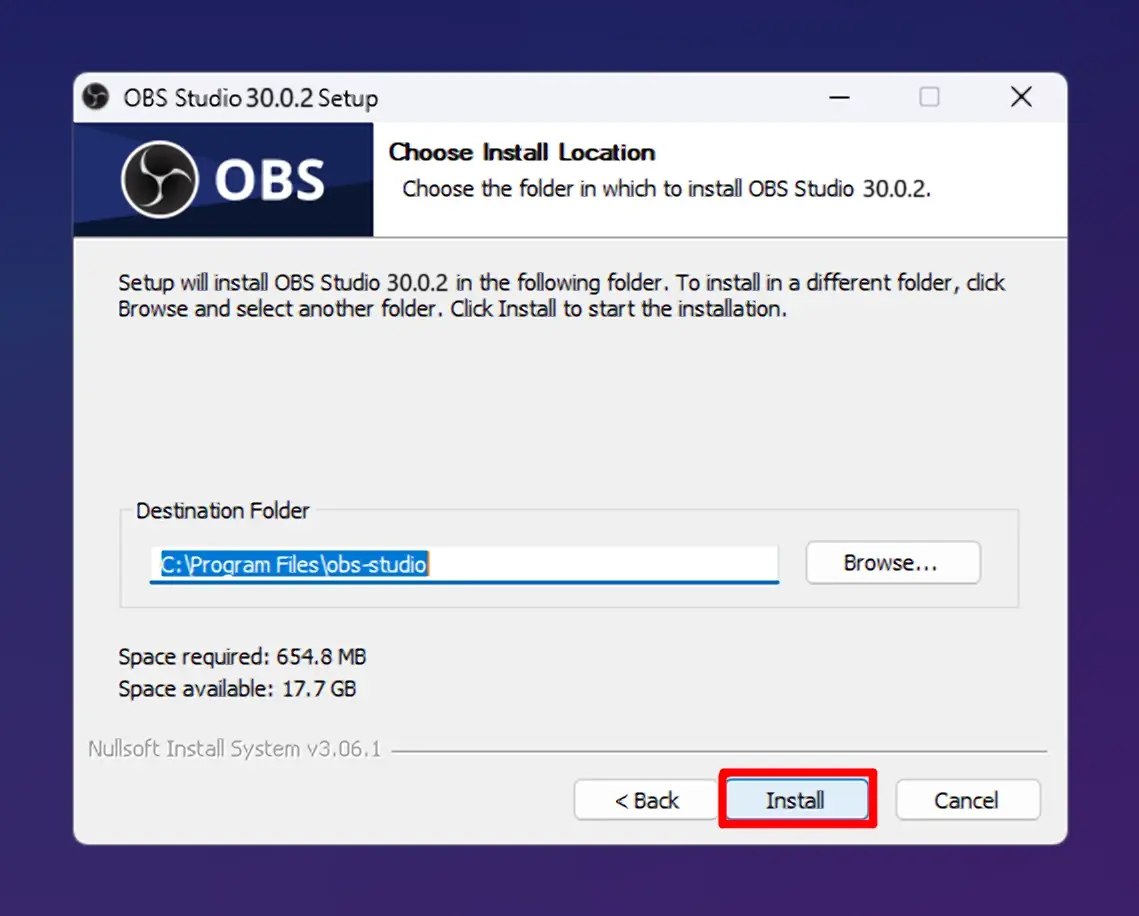
Follow the on-screen prompts to configure the installation settings. You may be asked to choose the installation location, create shortcuts, and customize preferences. Review and confirm your selections as you wish.
Step 7 – Complete the Installation:
Click the “Install” button to begin the installation process. Software will be installed on your Windows.
Step 8 – Launch Open Broadcaster Software on Windows:
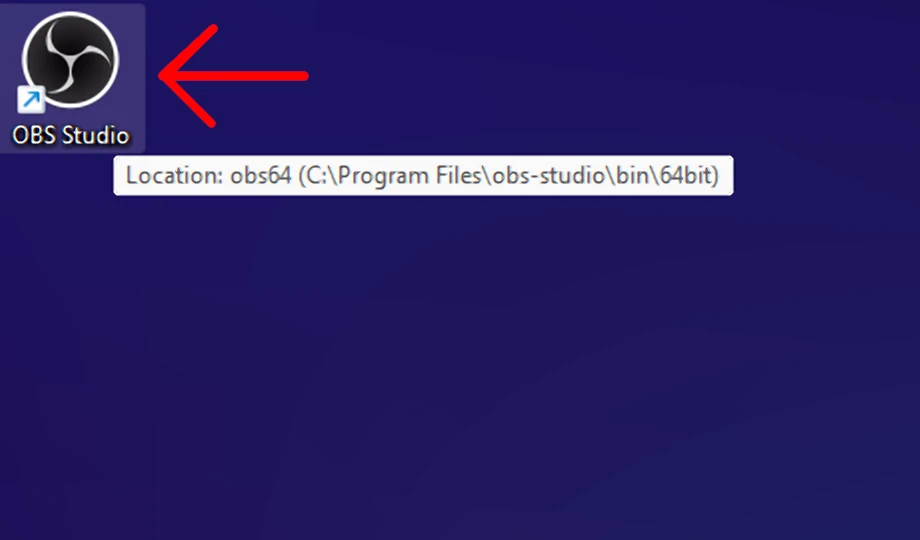
Once the installation is complete, you can choose to launch immediately or find its shortcut on your Windows desktop or in your applications folder.
Step 9 – Set Up Software:
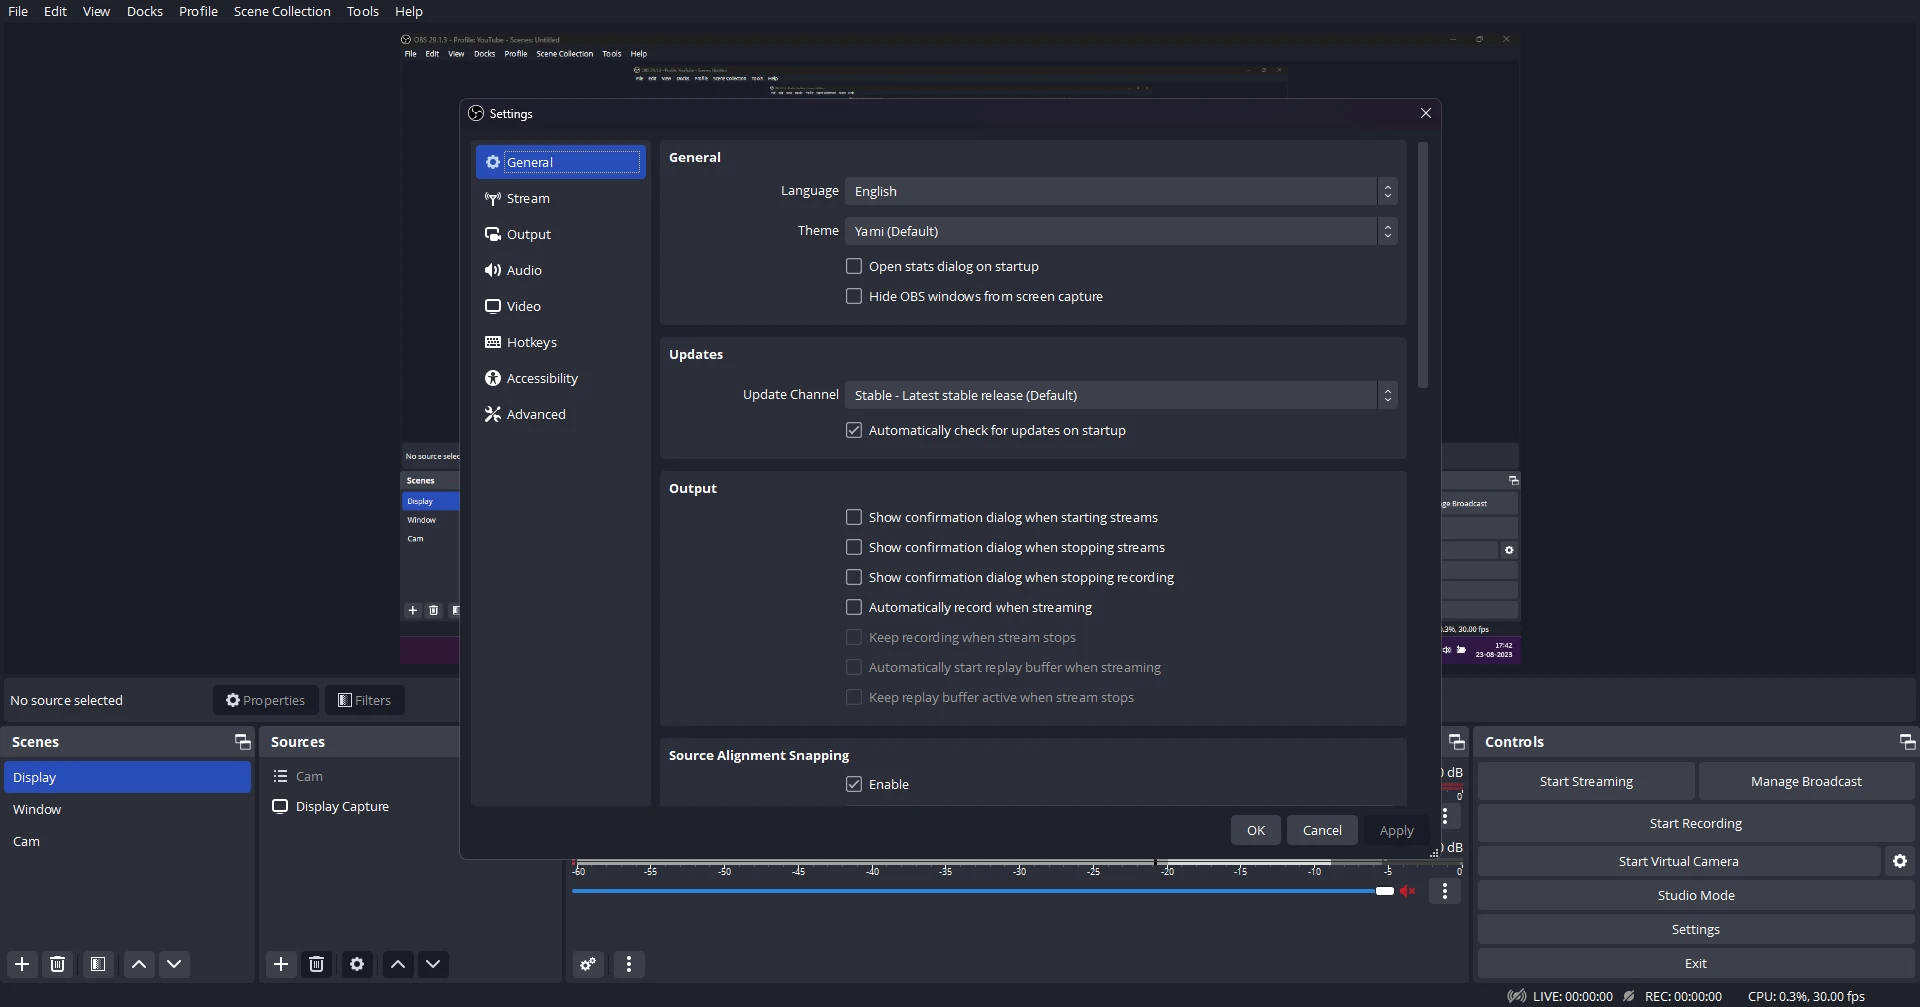
When you launch software for the first time, you’ll be prompted to configure your settings, including stream preferences, audio devices, and more. Follow the setup wizard to customize the whole OBS software according to your preferences.
Step 10 – Start Creating:
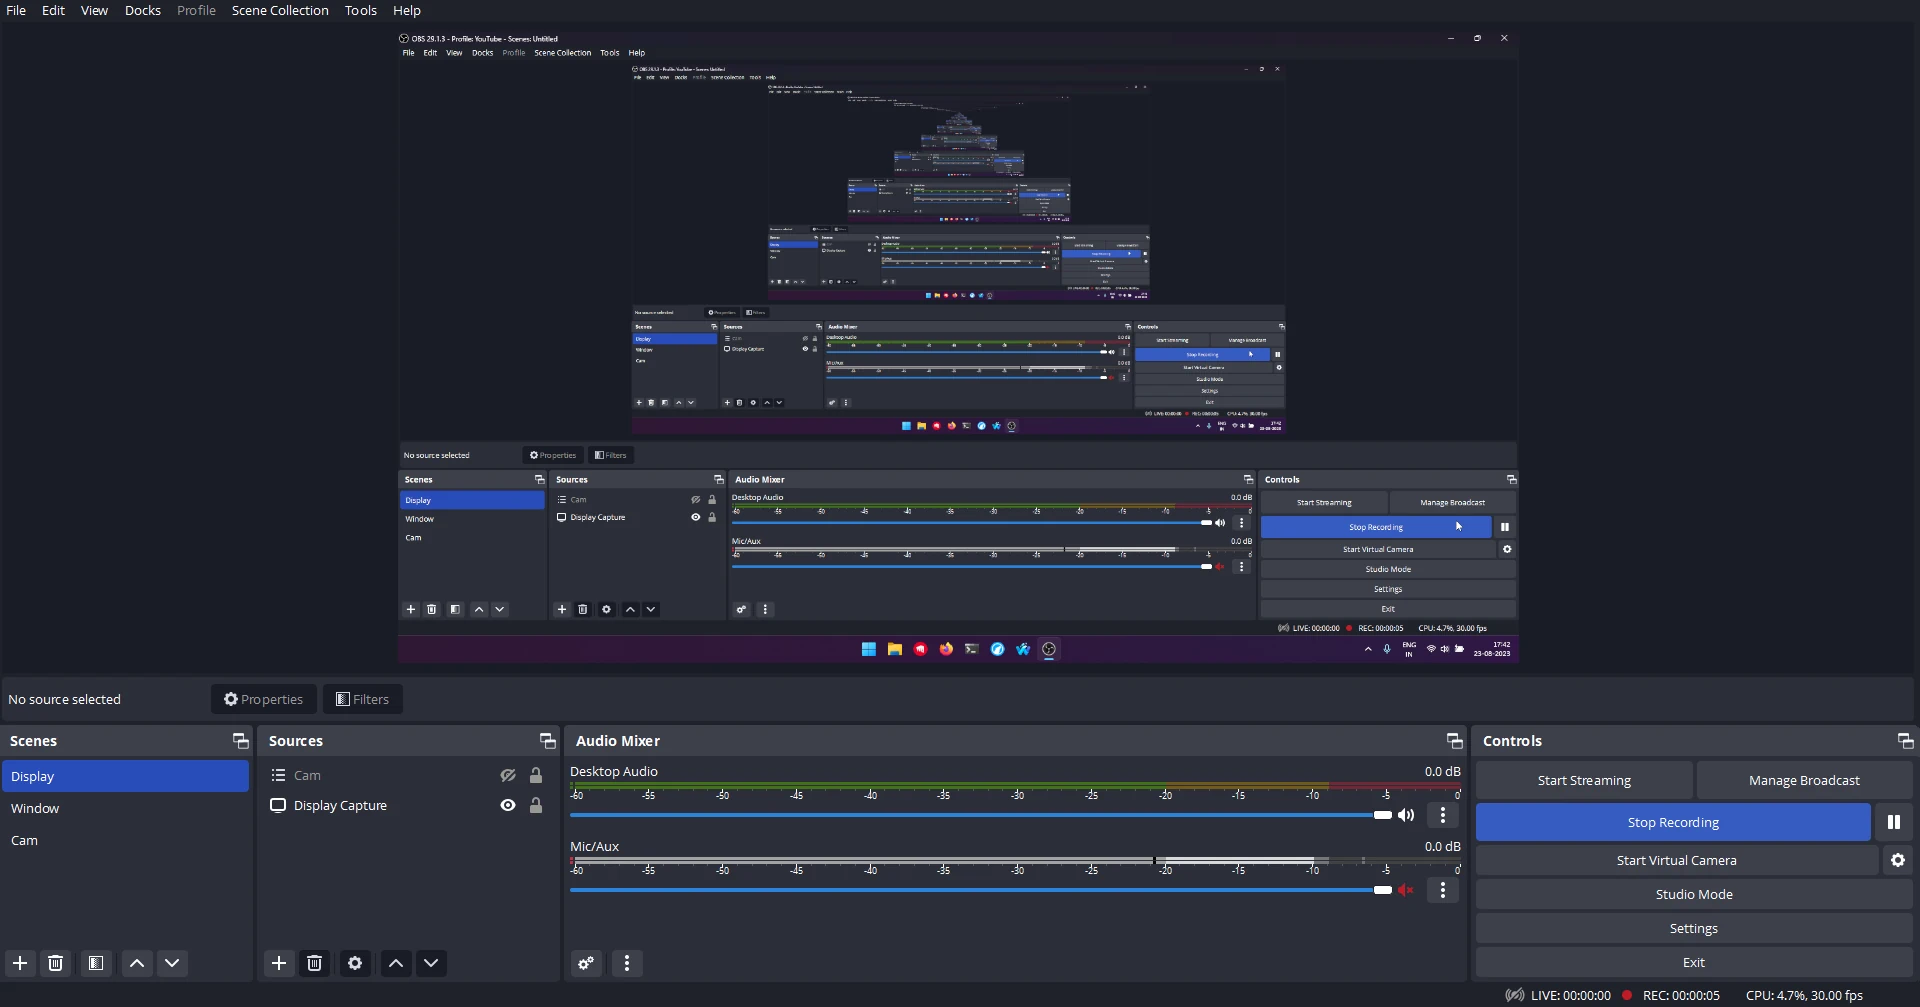
With OBS Studio successfully installed and configured, you’re ready to start creating captivating live streams, recording videos, and enhancing your content with its powerful features.
Step-by-Step Guide to Download and Install OBS Studio for Mac
Open Broadcaster Software is a powerful tool for live streaming and recording content on various platforms.
If you’re a MAC user looking to dive into the world of content creation, this guide will walk you through the process of downloading and installing OBS Studio on your Mac.
Step 1 – Visit the OBSStudio.net Website:
Open your preferred web browser and navigate to the website at “https://obsstudio.net“.
Step 2 – Download Open Broadcaster Software:
The “Download OBS Studio” button is on the website’s homepage. Clicking on it will redirect you to the download page.
Step 3 – Select Your Operating System:
Once the download page opens, you’ll be prompted to select your operating system. You can Choose from the two available options which are “macOS(Intel)” or “macOS(Apple Silicon)“
Step 4 – Download OBS Studio for Mac:
After selecting your option, the download for Mac will start automatically. You’ll see the progress of the download in your browser.
Step 5 – Locate the Downloaded File:
Once the download is complete, locate the downloaded file in your browser’s default download location or the folder you specified.
Step 6 – Install OBS Studio for Mac:
- Double-click the downloaded file to start the installation process. A new window will appear with the OBS Studio icon and an “Applications” folder icon.
- Drag and drop the OBS icon onto the “Applications” folder icon to install the software. This will copy it into your Applications folder.
Step 7 – Open the Software:
After the installation is complete, navigate to your Applications folder. Locate the software’s icon and double-click on it to launch the software.
Step 8 – Configuring Open Broadcaster Software for Mac:
Once it is open, you’ll be prompted to configure your settings. You can choose to optimize settings based on your usage, or you can manually adjust them according to your preferences.
Step 9 – Start Creating:
With Studio software successfully installed, you’re ready to start creating content. Explore the software’s features, set up scenes, add sources, and configure settings to begin your live streaming or recording journey.
Step-by-Step Guide to Download and Install OBS Studio for Linux
Open Broadcaster Software is a versatile tool for live streaming and content creation.
If you’re a Linux user eager to explore live streaming, this guide will walk you through the process to download and install OBS Studio for your Linux system.
Step 1 – Access the Terminal:
Launch the terminal on your Linux system. You can typically find the terminal application in your applications menu or by using the shortcut “Ctrl + Alt + T“
Step 2 – Update Repositories:
Type the command sudo apt update in the terminal and press “Enter” This updates the package repositories on your system.
Step 3 – Install OBS Studio for Linux:
To install Open Broadcaster Software, enter the command sudo apt install obs-studio in the terminal and press “Enter”
Step 4 – Confirm Installation:
During the installation process, you’ll be prompted to confirm the installation by typing “Y” and pressing “Enter”
Step 5 – Wait for Installation:
The terminal will begin downloading and installing OBS along with its dependencies. Wait for the process to complete.
Step 6 – Launch OBS on Linux:
Once the installation is finished, you can launch the software. You can do this by searching for “OBS Studio” in your applications menu or by using the terminal command obs-studio.
Step 7 – Configure the Software for Linux:
When the software opens, you’ll have the option to configure settings based on your needs. You can adjust streaming settings, video and audio preferences, and more.
Step 8 – Start Creating:
With OBS Studio for Linux successfully installed, you’re ready to start creating content. Set up scenes, add sources, and customize your stream or recording settings to bring your creative vision to life.

