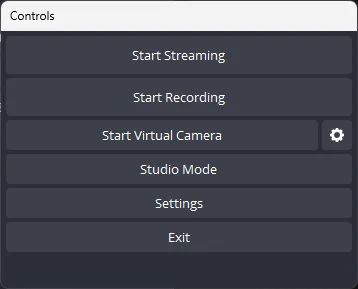
Stream on Twitch with OBS Studio
With live streaming continuing to grow in popularity, many content creators are looking to get started streaming their gameplay, crafts, music, and more on platforms like Twitch. One of the most widely used and full-featured streaming software options is OBS (Open Broadcaster Software) Studio. As we head into 2024, OBS Studio remains a top choice for new and experienced streamers alike.
In this guide, we’ll walk through the steps for getting OBS Studio fully prepared to stream high-quality broadcasts to Twitch this year. We’ll cover:
- Downloading and Configuring OBS
- Setting Up Video and Audio Sources
- Connecting to Twitch and Testing Your Stream
- Optimizing OBS Settings for Streaming
Let’s get started!
Downloading and Getting Started with OBS Studio
First, head to https://www.obsstudio.net/download to download the latest version of OBS Studio for your Windows, Mac, or Linux machine. With regular updates from the OBS team, downloading the newest release ensures you’ll get key bug fixes, improved performance, and features for streaming.
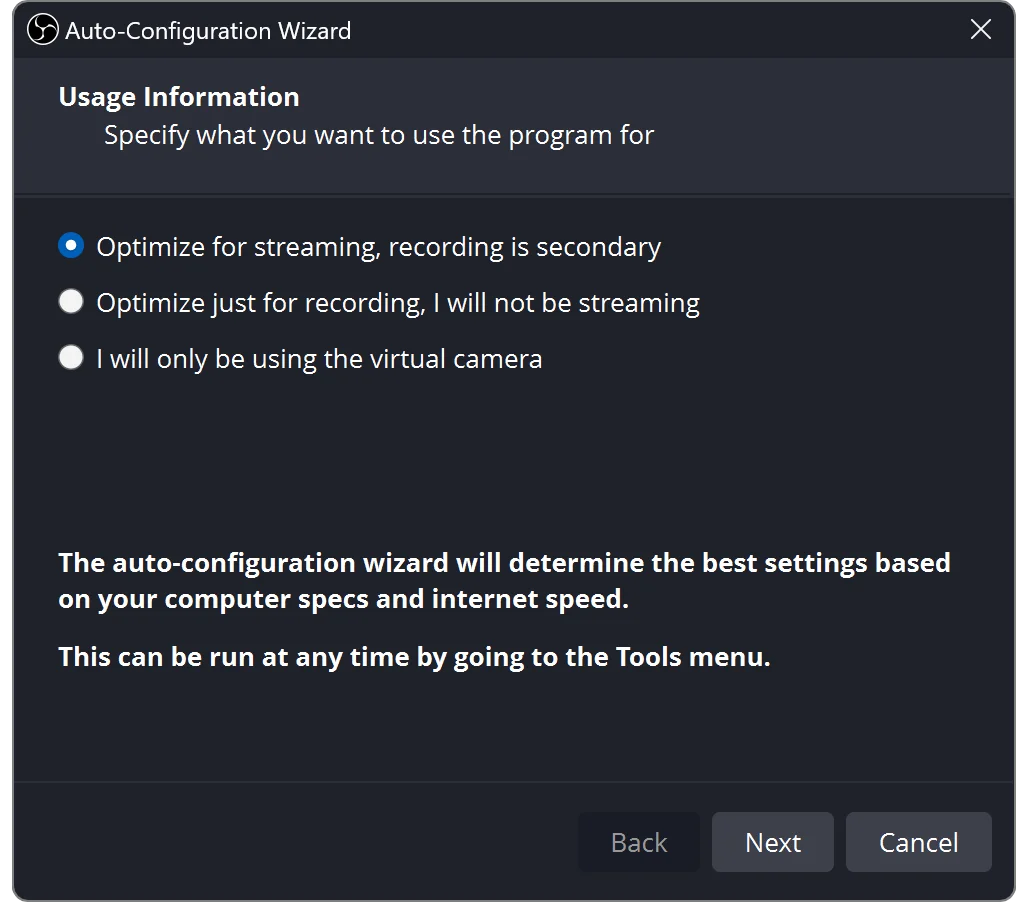
Once installed, launch OBS and walk through the auto-configuration wizard to set up your basic video and audio devices. This will prep your video capture, headphones, and microphone as primary input sources for future Twitch streams. Feel free to adjust these settings later as you add more cameras and audio gear or switch PCs.
Setting Up Your Video and Audio Sources
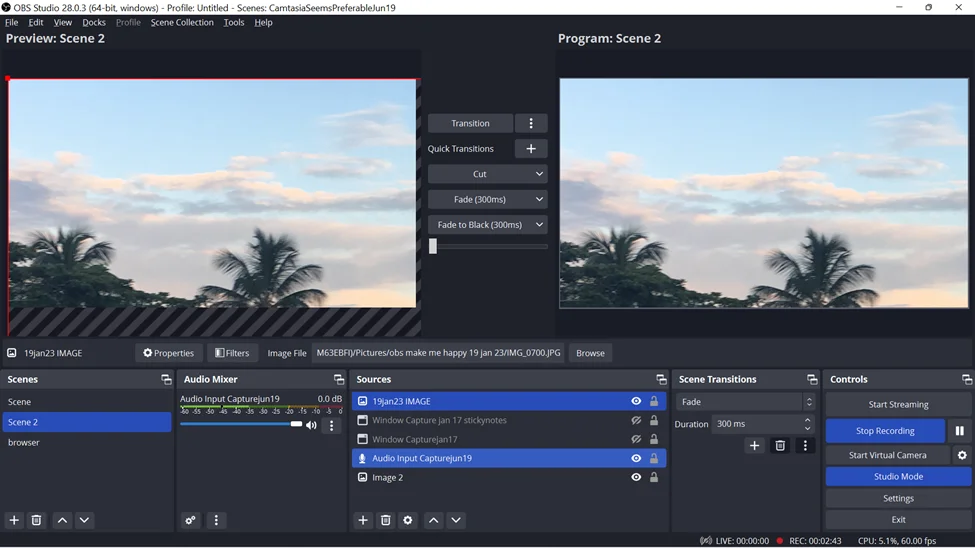
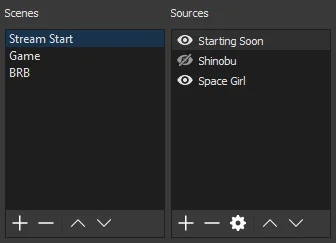
With OBS configured, it’s time to start designing your specific scenes and sources for streaming. Open up the Sources box and click the + buttons to add cameras, video captures, browser windows, images, text and more.
Arrange your different video feeds how you like within a single scene. Many streamers opt for a two-scene setup with one main feed plus another for transitions and breaks. Add browser sources for overlays with notifications and stats from services like StreamLabs and Stream Elements as well.
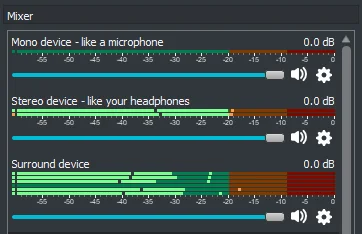
In the Audio Mixer panel, adjust the volumes on your various audio sources – system sound, microphone, musical intros, and sound effects each has its own channel. You can tweak audio further within filters on a given source for noise suppression, gain and more.
We also have a post on How to Stream on YouTube with OBS
Connecting OBS Studio to Twitch
Now comes the real fun – connecting OBS to your Twitch channel and configuring your broadcast settings!
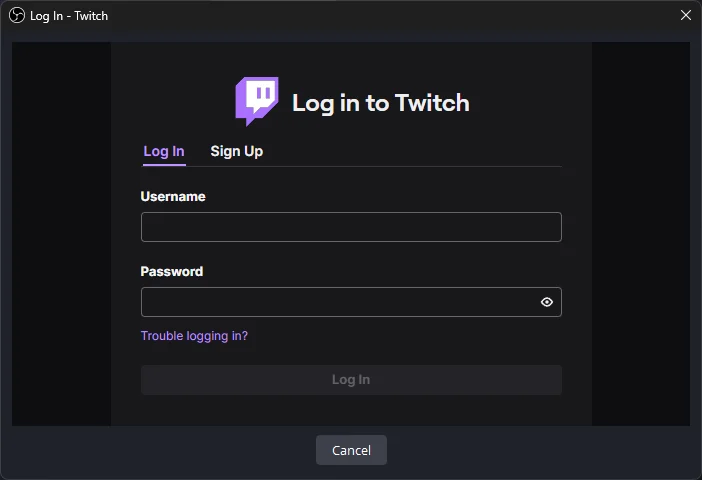
Click Settings > Stream in OBS and select Twitch as the service. Sign into Twitch by entering your streaming key provided in your Twitch channel’s dashboard settings. Select your nearest Twitch server to connect to and an appropriate stream key ingest server.
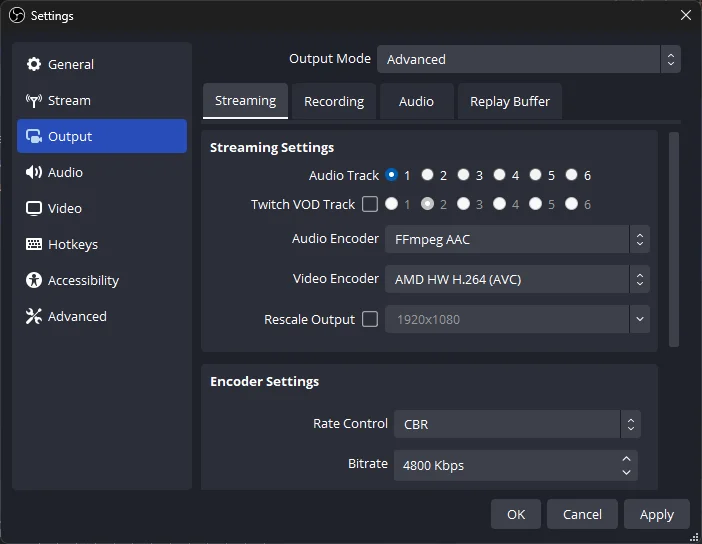
With the connection established, head to Settings > Output and adjust your video bitrate, encoder and more based on your target resolution and frame rates for streaming. Also confirm that your Audio Bitrate within Settings > Audio matches Twitch’s recommended level.
Testing, Streaming and Optimizing Performance
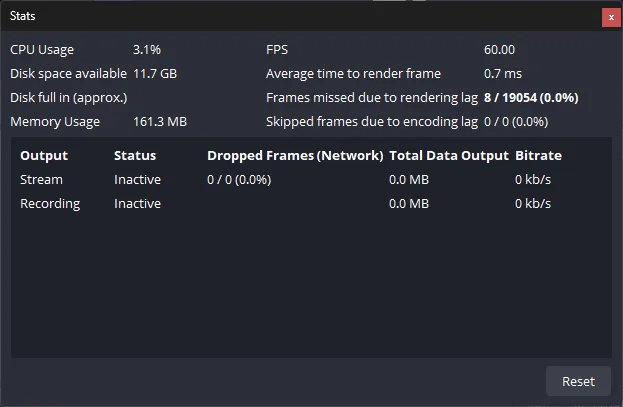
You’re nearly ready to go live! But first, conduct some test streams to monitor your video quality, frame-rates and system performance.
Watch your Twitch Inspector during tests to pinpoint any issues like dropped frames or unstable internet connectivity needing troubleshooting. Tweak your OBS settings to find an optimal balance – lower resolutions may be needed for smooth streaming based on your system resources available while streaming and gaming simultaneously.
Dig into OBS’ myriad of filters on your video, audio and other sources to further refine the production value of your stream. Filters for noise suppression, gain, color correction, graphics, transitions and more can take your Twitch channel to the next level. But get comfortable with OBS’ core streaming capabilities first before layering on too many resource-intensive filters all at once.
Ready, Set, Stream!
Once any kinks are worked out in your test streams, it’s time to officially schedule and promote your first broadcast to your budding Twitch audience! Rely on OBS’ multi-scene workflows to switch easily between animated starting screens, transitions and your primary gameplay footage. Keep chatting with your community to continue learning and optimizing as you build your streaming presence over time.
Conclusion
With this guide, you now have a robust roadmap for setting up OBS Studio this year for live streaming world-class productions on Twitch. From configuring your basic video and audio sources to connecting with Twitch and unlocking advanced filters and options, unleash the full power of OBS to deliver quality live content to your fans.
Stick to the basics at first while developing your distinctive streaming presence before incorporating too many fancy features. Here’s to successful, smooth and steady streams ahead this new year! Your awaits. Game on!
Related Guides
Understanding Sources in OBS Studio
Mastering Scene Transitions in OBS Studio
