How to Stream on YouTube with OBS
Are you ready to take your YouTube game to the next level? Buckle up, my friend, because, in this article, we’ll dive headfirst into live streaming. And let me tell you, it’s a wild ride!
Whether you are a gamer, vlogger, or educator, this step-by-step tutorial will help you go live confidently. We walk you through setting up OBS, a powerful tool for creating captivating live streams.
Introduction to OBS and Live Streaming
If you’re new to the streaming game, let me introduce you to your new best friend: OBS Studio. This powerful software is like a Swiss Army knife for content creators, allowing you to capture, edit, and broadcast your streams easily. It’s like having your production crew minus the divas and expensive catering bills.
OBS Studio allows you to interact with your audience all in one place. It helps you make your stream genuinely professional. With OBS Studio, you can broadcast directly to the streaming platform, and in this article, we will learn how to stream on YouTube.
Setting Up OBS: Download and Installation
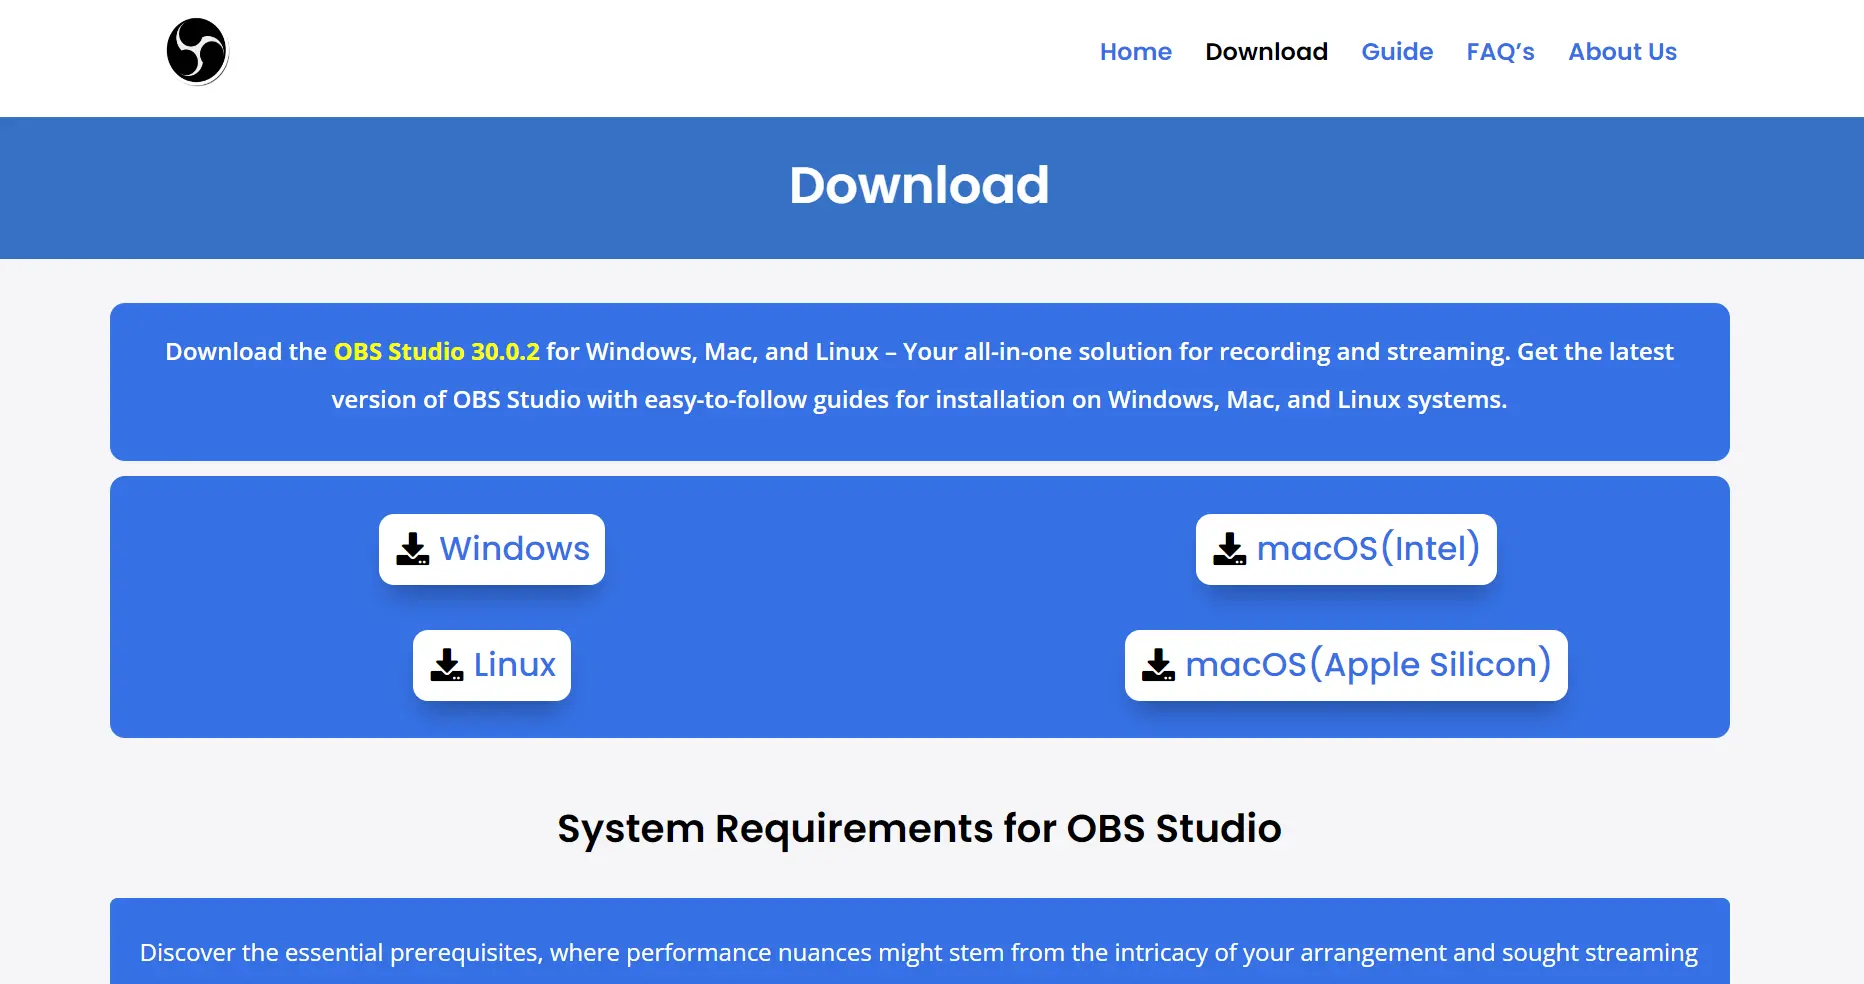
1. Let’s install OBS on your machine before we get into the nitty-gritty of streaming. Head over to our website (https://www.obsstudio.net/download) and download the installer for your operating system.
2. The Installation process of OBS Studio is straightforward; follow the Installation instructions, and OBS Studio will be installed on your PC. It’s as easy as pie; trust me, even your grandma could do it.
3. Once installed, you’ll have a shiny new program ready to help you conquer the world of live streaming.
Initial Configuration in OBS
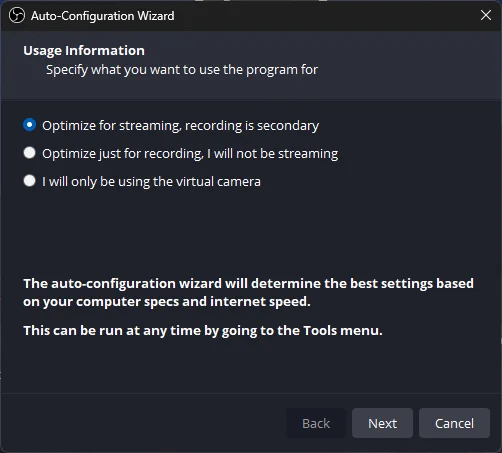
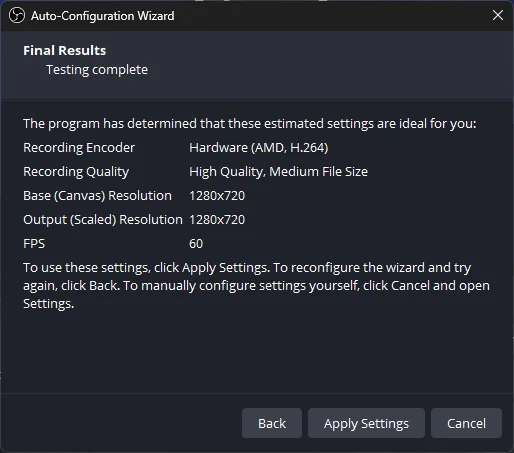
Alright, let’s get this party started! When you launch OBS for the first time, you’ll be greeted by the Auto-Configuration Wizard. This nifty little tool will help you optimize your settings based on your hardware, ensuring your stream runs smoothly without hiccups. It’s like having a personal assistant but without the sass.
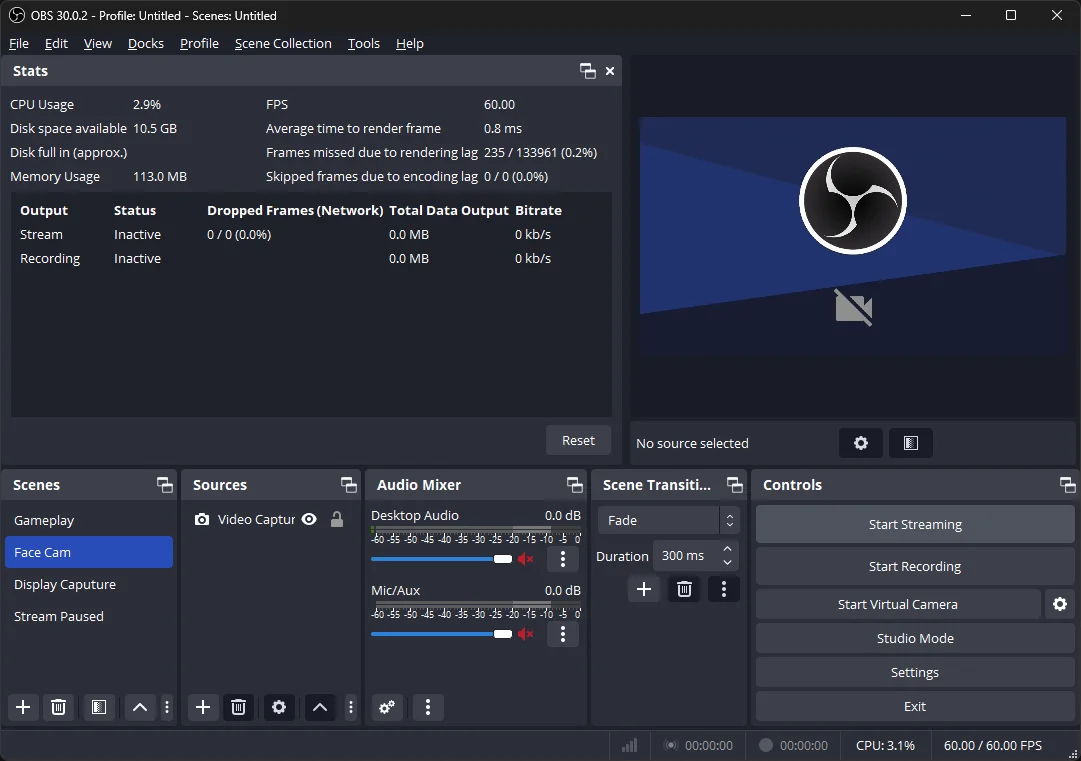
If you want to launch the Auto-Configuration Wizard, launch it from the Tools menu. Inside the Auto-Configuration Wizard, choose your preferred resolution and frame rate for streaming & apply the settings.
Connecting OBS to YouTube
Let’s connect your OBS to YouTube. First, ensure your YouTube account is set up for live streaming (you would want to be safe, would you?).
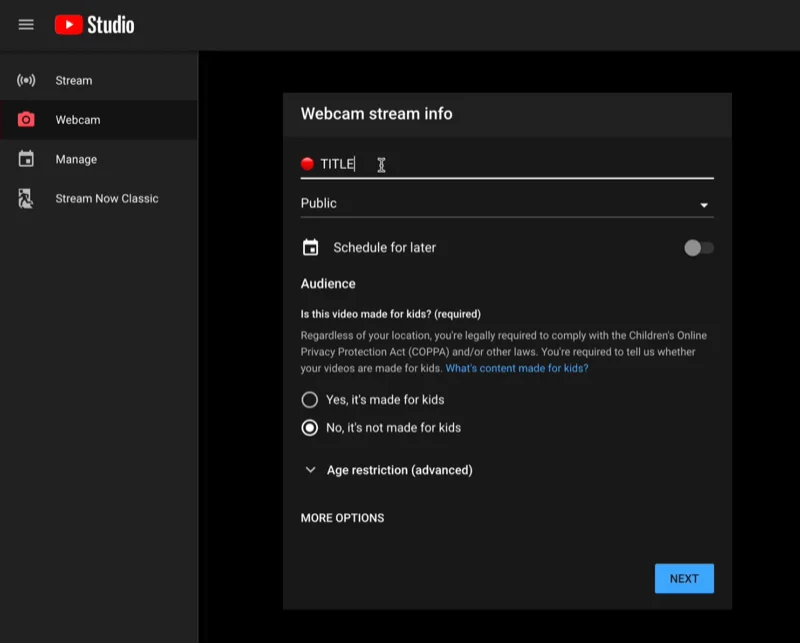
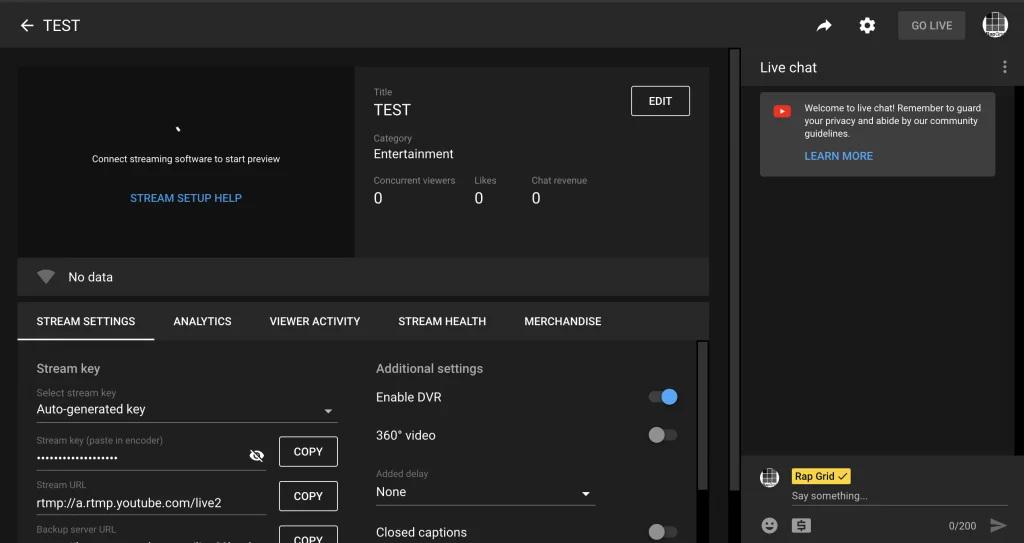
Then, head over to YouTube Studio and click on “Go Live” to enter the magical realm of live streaming settings. Grab your stream key from here and paste it into OBS, like a secret handshake that grants you access to the live streaming club.
In OBS, go to Settings > Stream, select “YouTube – RTMPS” as the Service, click on “Use Stream Key (Advanced),” and paste the stream key. Apply and Save your settings.
Configuring Additional Sources
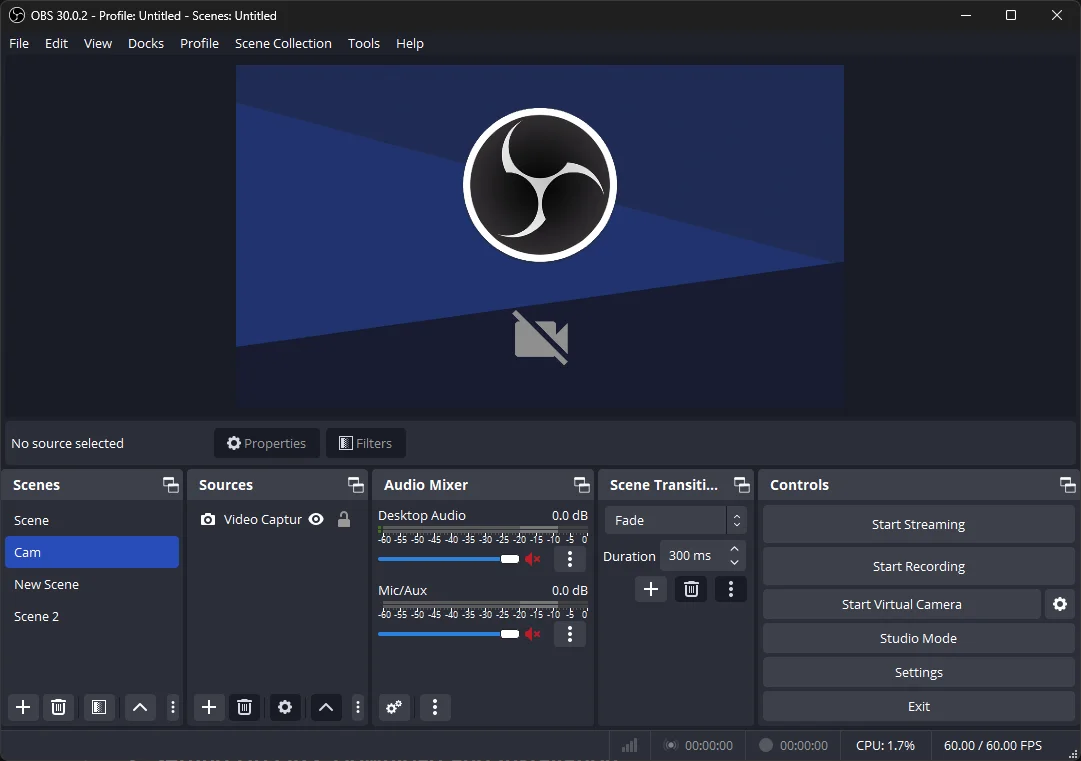
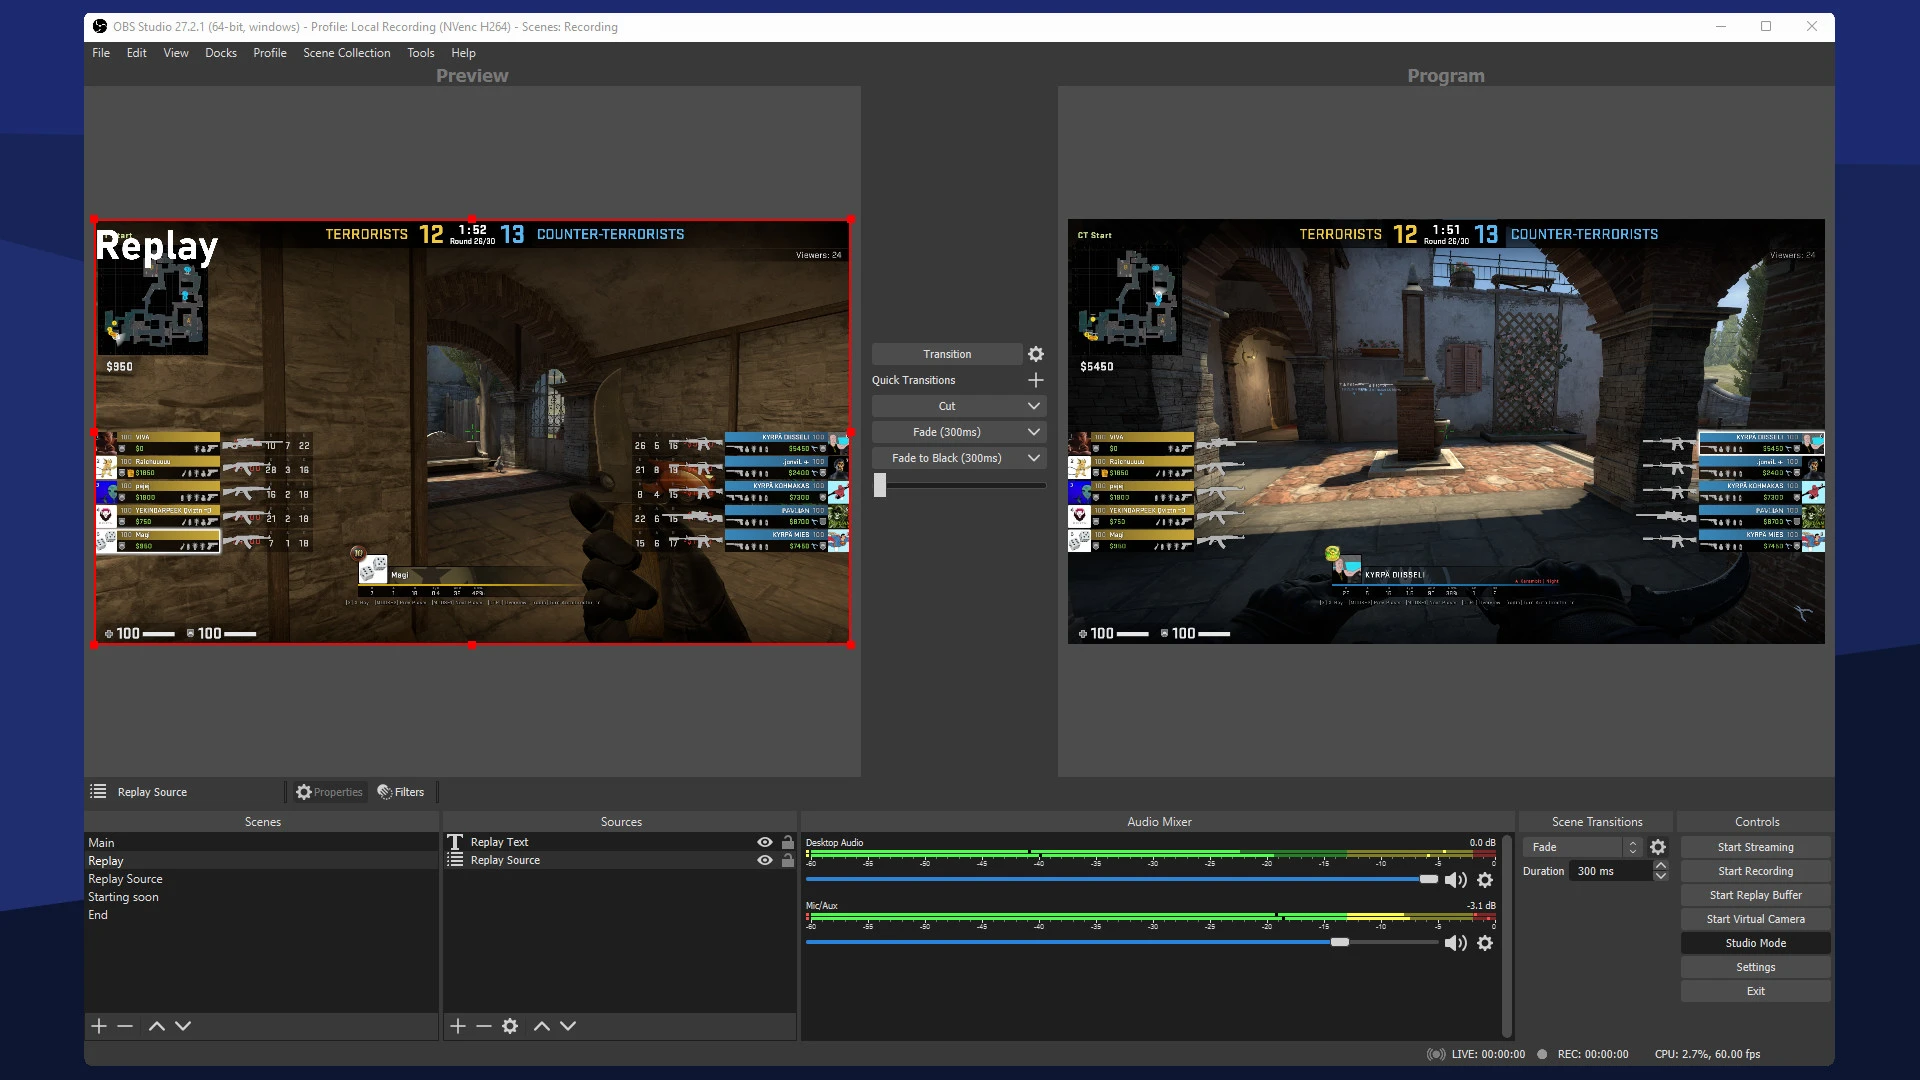
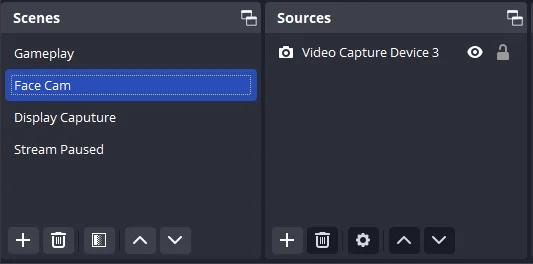
Alright, let’s make your stream pop! Add your camera and microphone sources to your OBS scene, and make sure everything is synchronized like a well-choreographed dance routine. Play around with different layouts, backgrounds, and overlays to create a unique and engaging experience for your viewers. And familiarize yourself with starting and stopping the stream.
Going Live on YouTube
It’s showtime, baby! Click that “Start Streaming” button in OBS and get ready to wow your audience with wit, charm, and impeccable content. Engage with your viewers, answer their questions, and, most importantly, have fun! Remember,
OBS has your back, handling all the technical aspects so you can focus on what you do best: entertaining the masses.
Troubleshooting Stream Issues
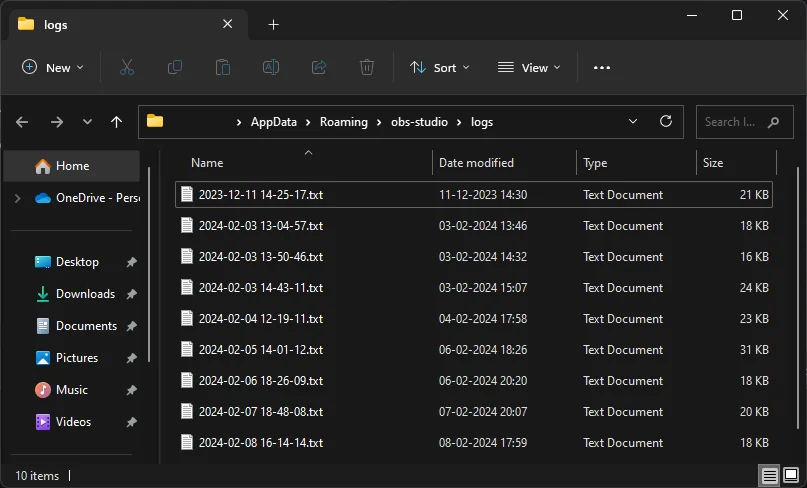
But what if something goes wrong, you ask? Fear not, for OBS has your back once again. Access the log files to uncover potential issues, and use the OBS Log Analyzer to receive suggestions for improvement. It’s like having a team of tech wizards ready to help you conquer any streaming-related obstacle.
Go to the Help ‘menu > Log Files > Show Log Files’ to access the log files.
Conclusion
So, what are you waiting for? Start your live-streaming journey and take your YouTube channel to new heights. With OBS Studio by your side, the possibilities are endless; the only limit is your imagination. Happy streaming, Our friends!
Related Guides
Understanding Sources in OBS Studio
Mastering Scene Transitions in OBS Studio
